This is an instruction video on how to change the internal printer on the QBC Star.
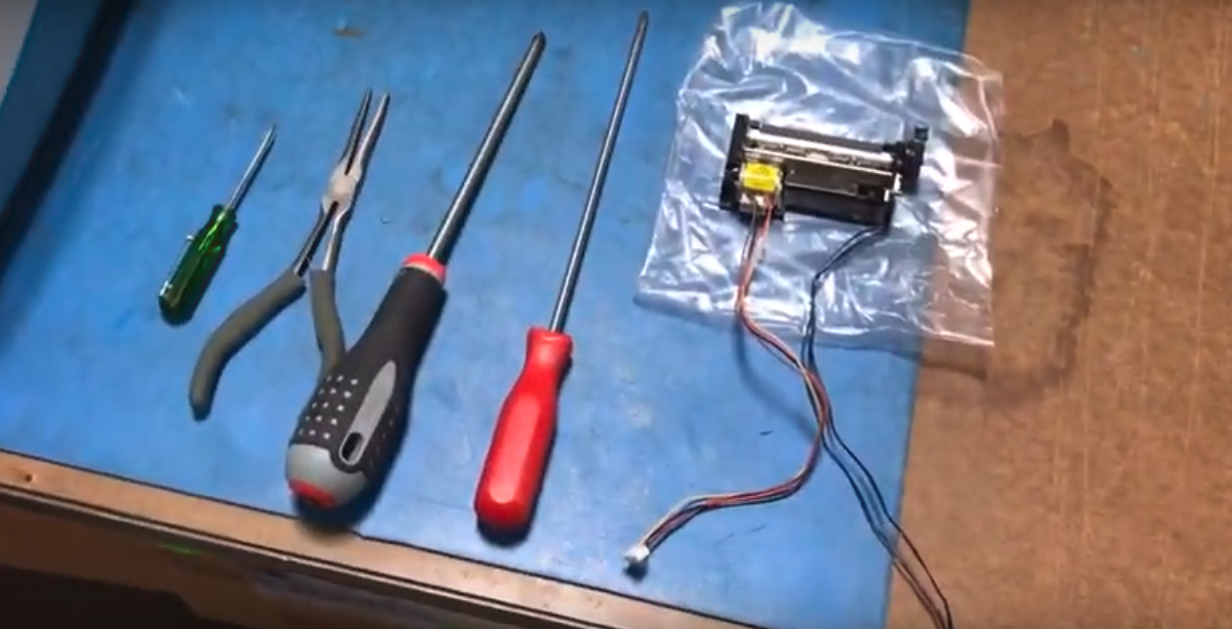
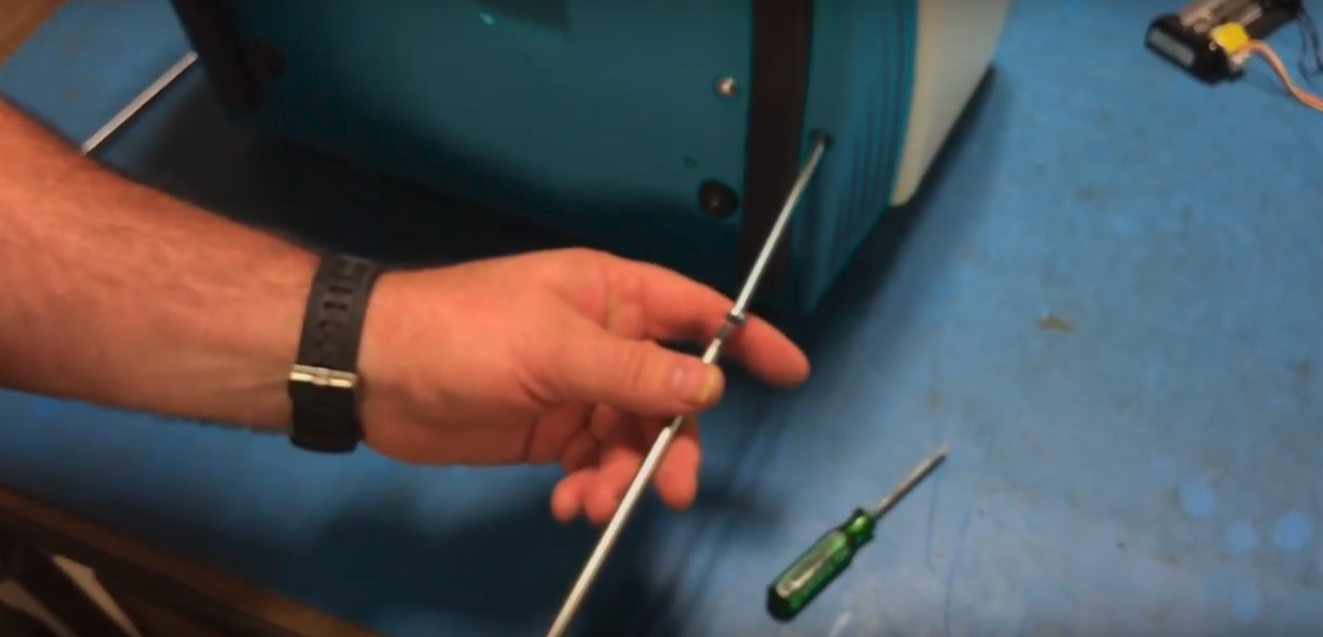
These are the recommended tools, we got a small flat-head screwdriver, a pair of pliers, a phillips screwdriver, a longer number one phillips screwdriver and the internal printer.
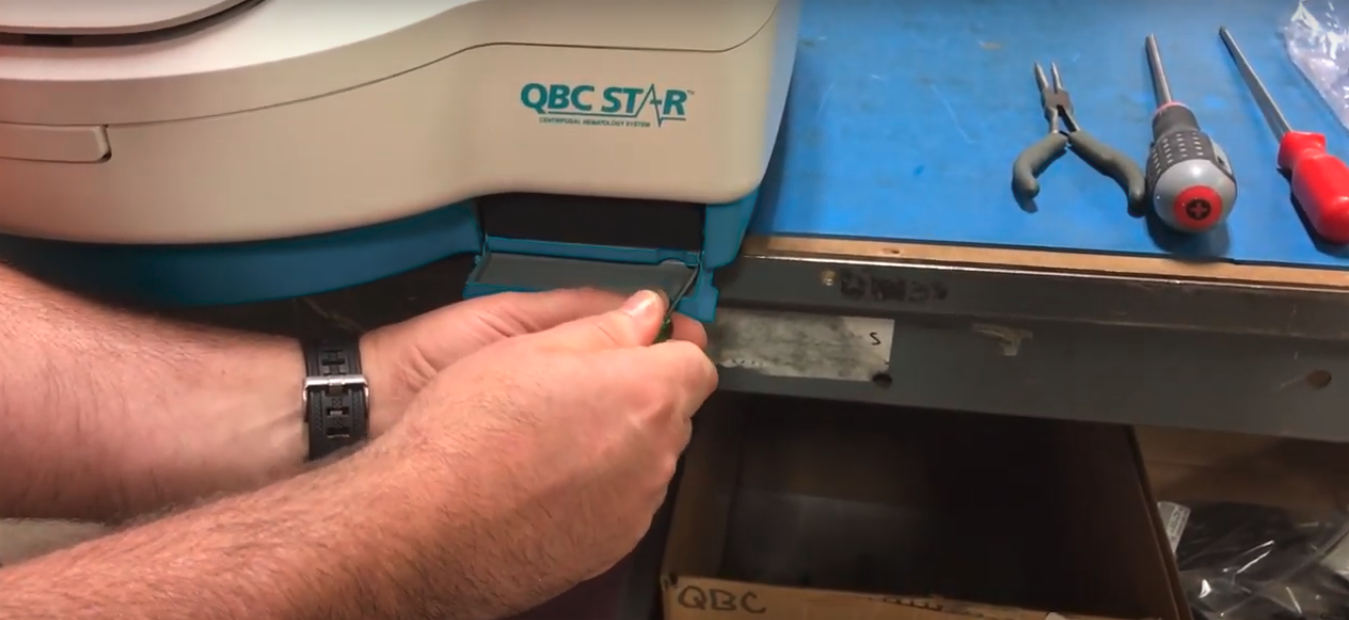
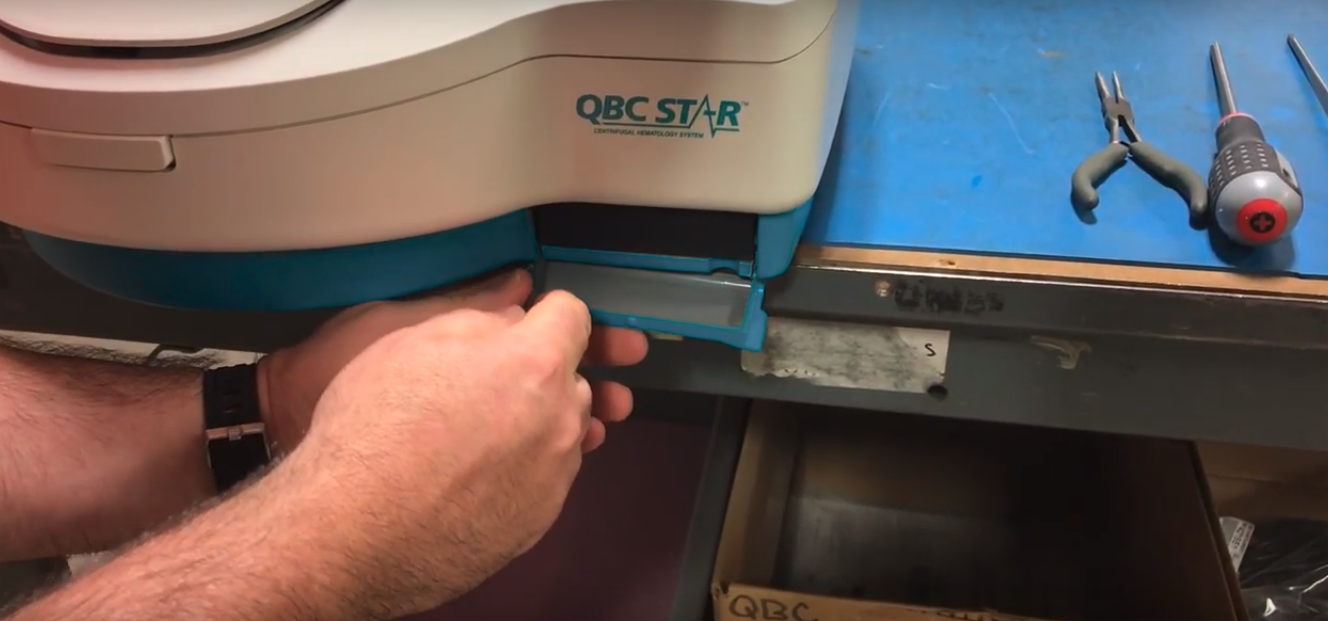
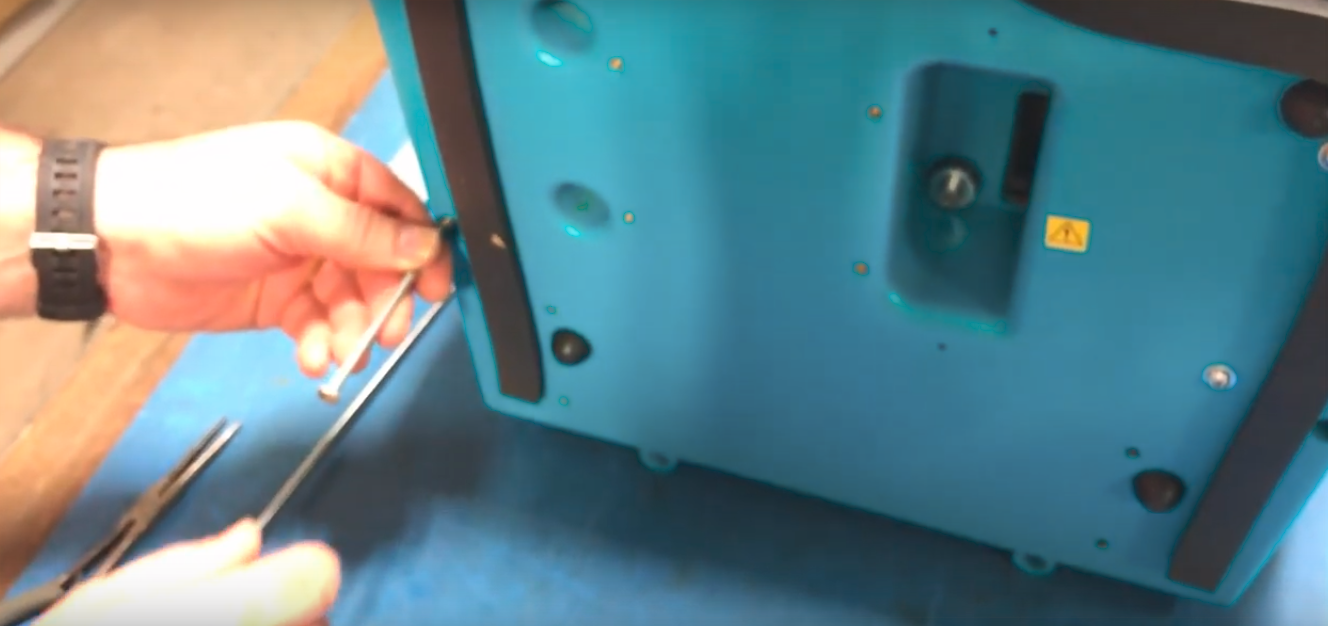
So, the first thing we do is take off the front door here with the small flat-head screwdriver, so what you want to do is just gently pry both sides back the right side off first and then the left side comes out really easy, you don't want to pull on it because it'll snap those tabs off.
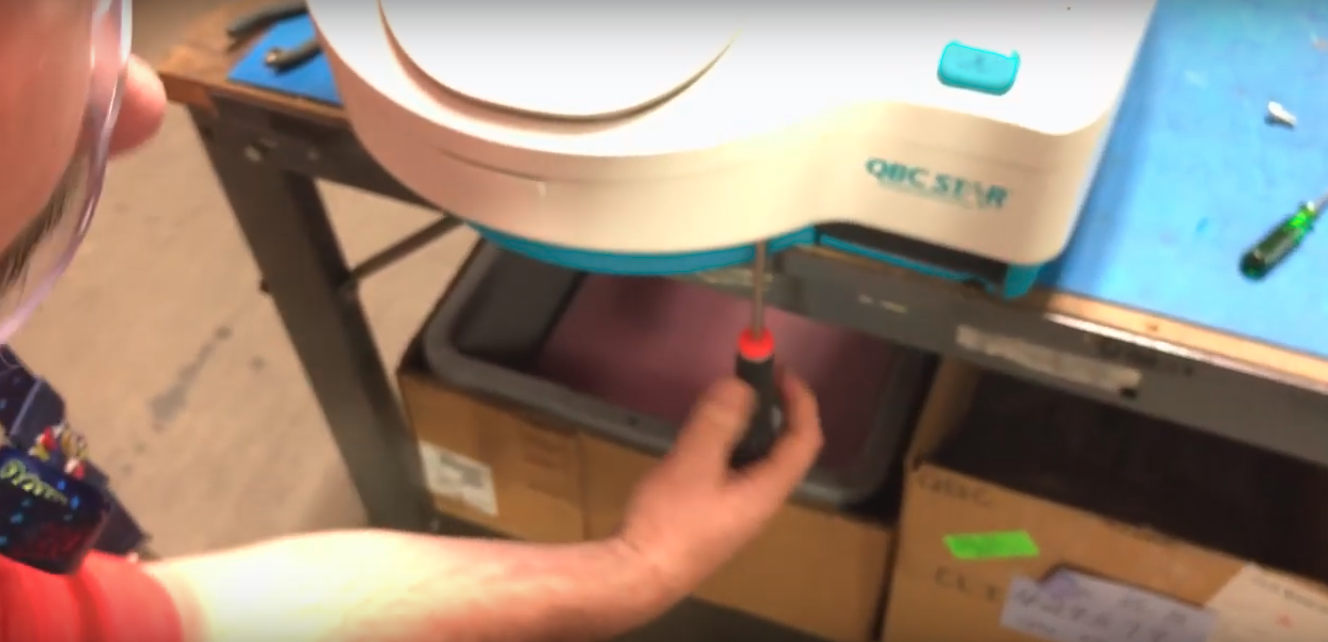
Secondly, with the number two phillips screwdriver there are three screws in the front, you want to tilt it up and show them where the three screws are, we got a screw here,
got a screw here,
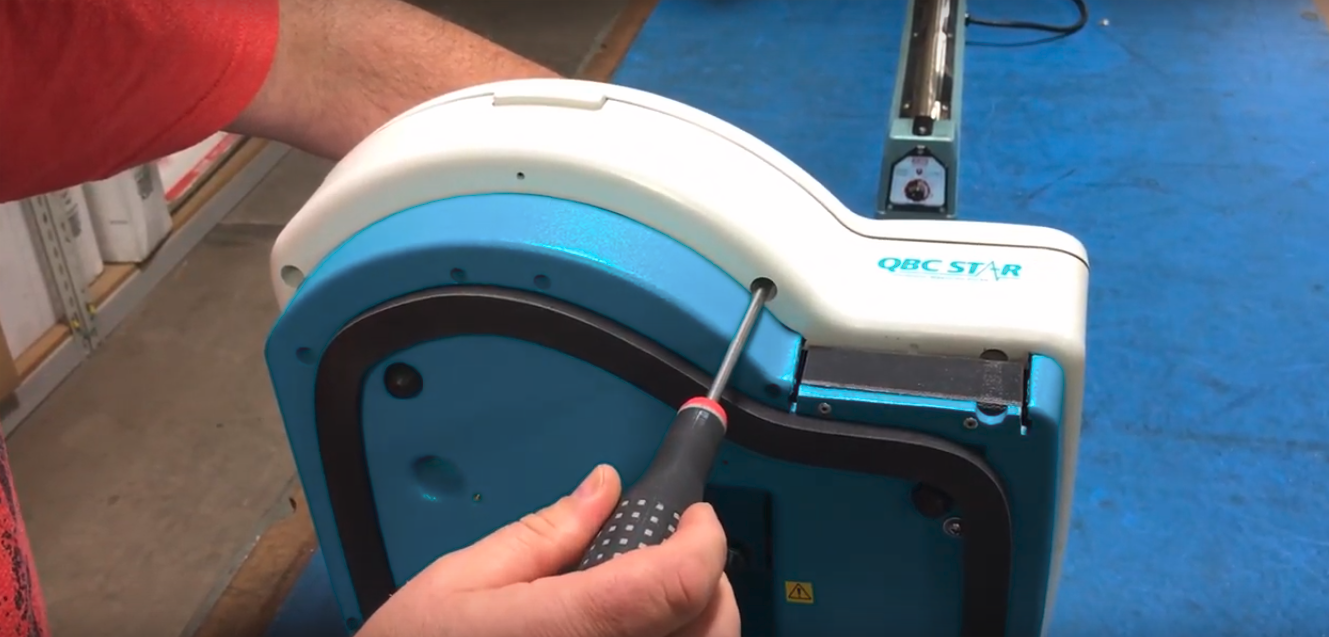
we got a screw here
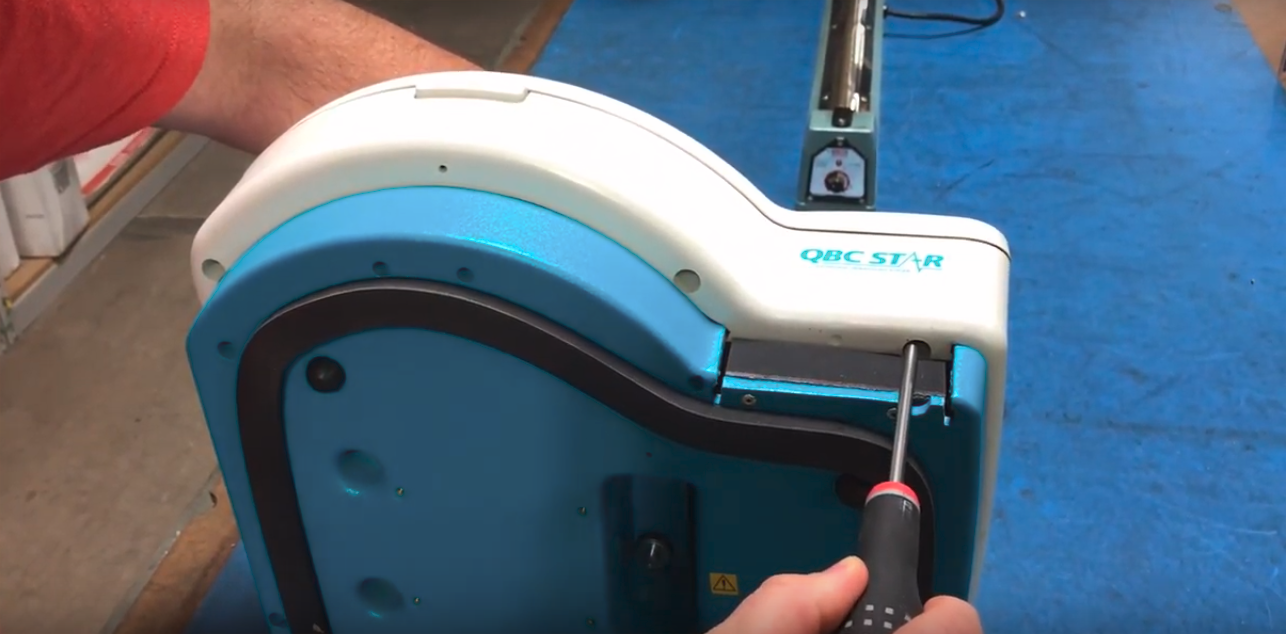
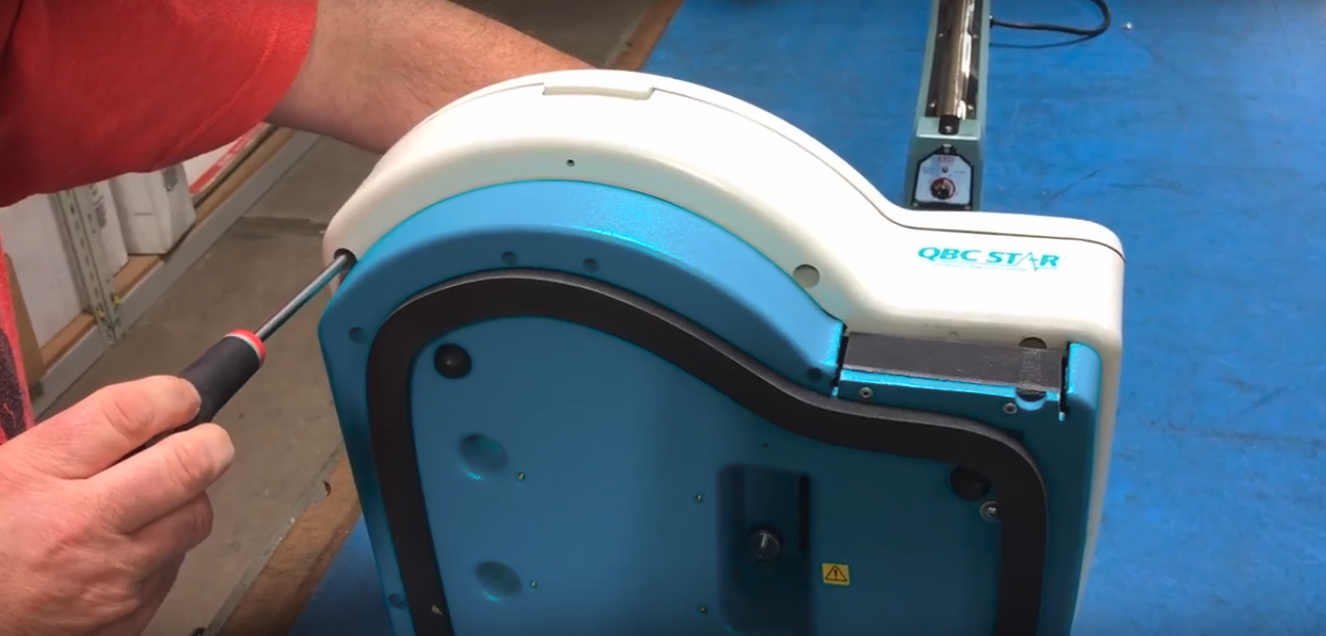
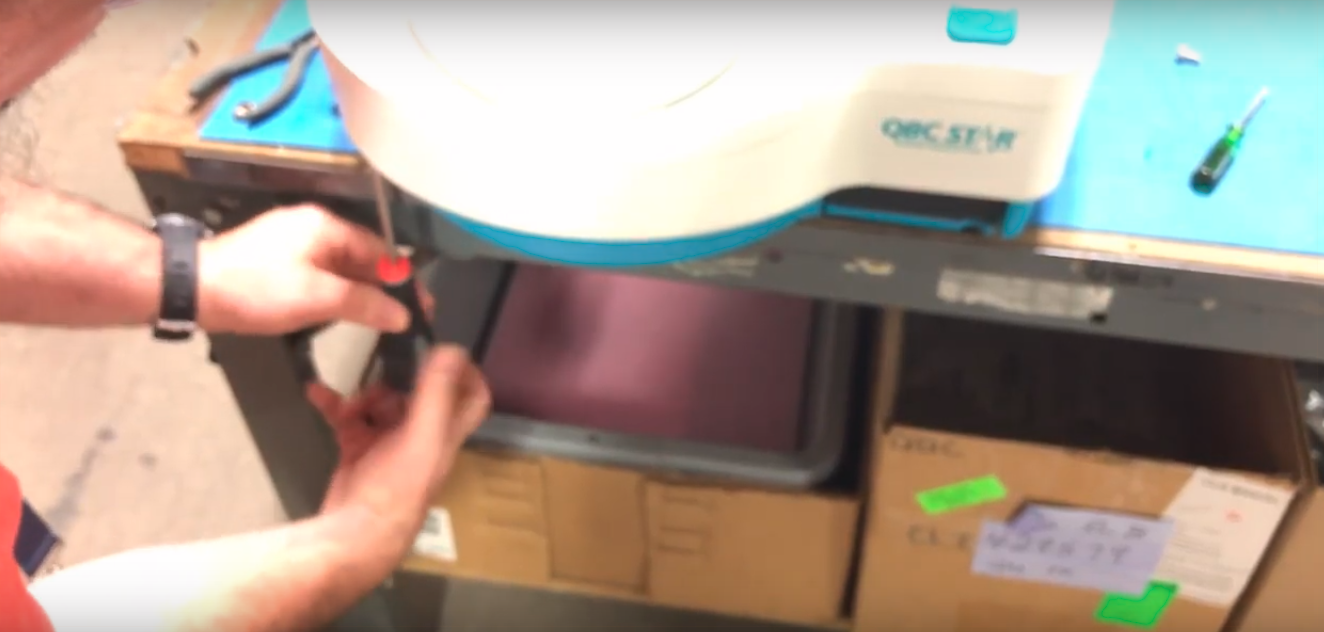
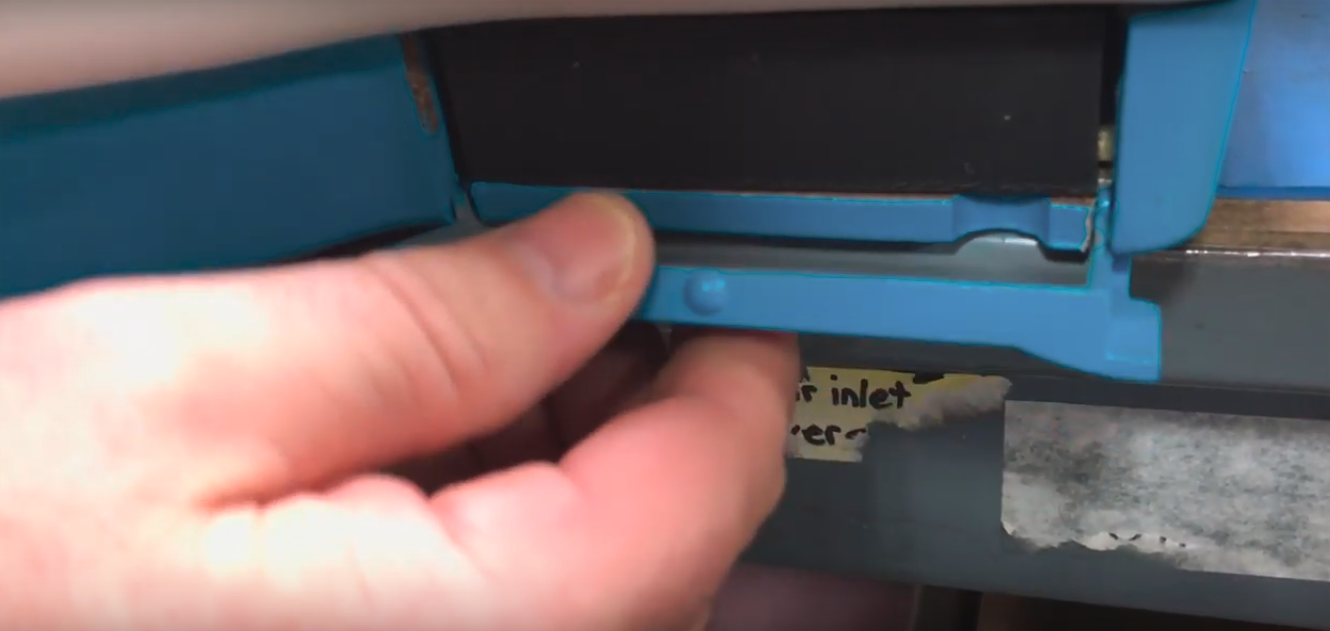
and then there's two on there's one on each side, there's one here
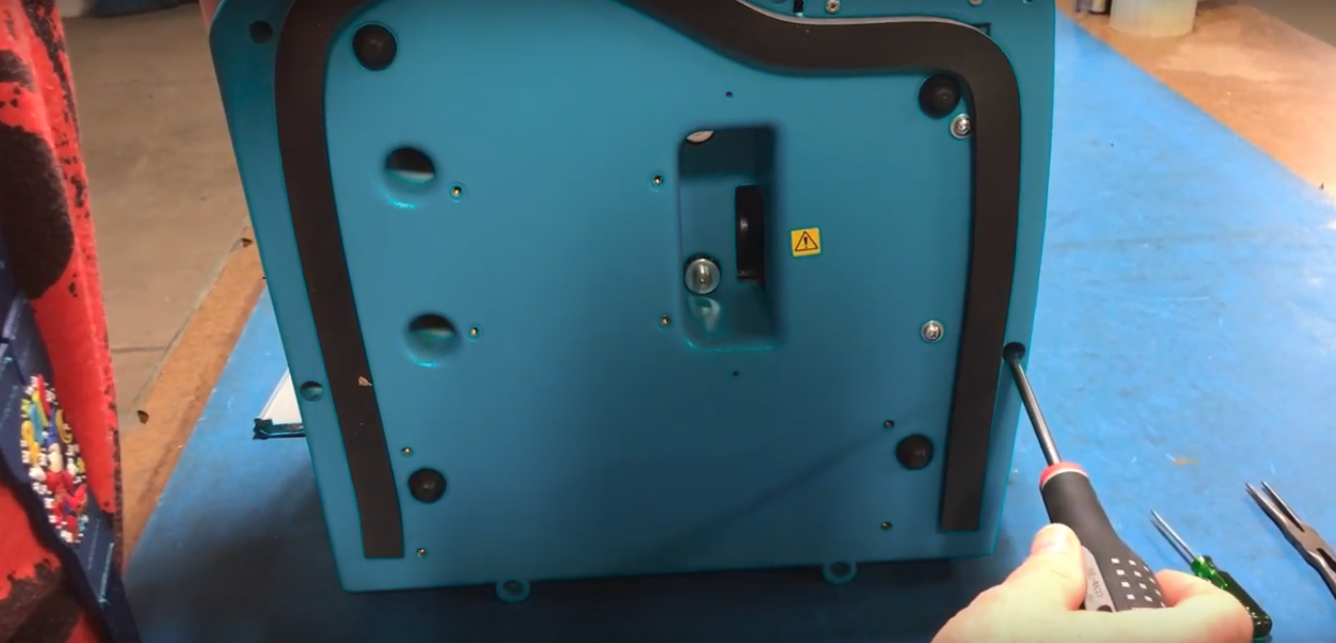
and the other side right here, all five of those need to be removed
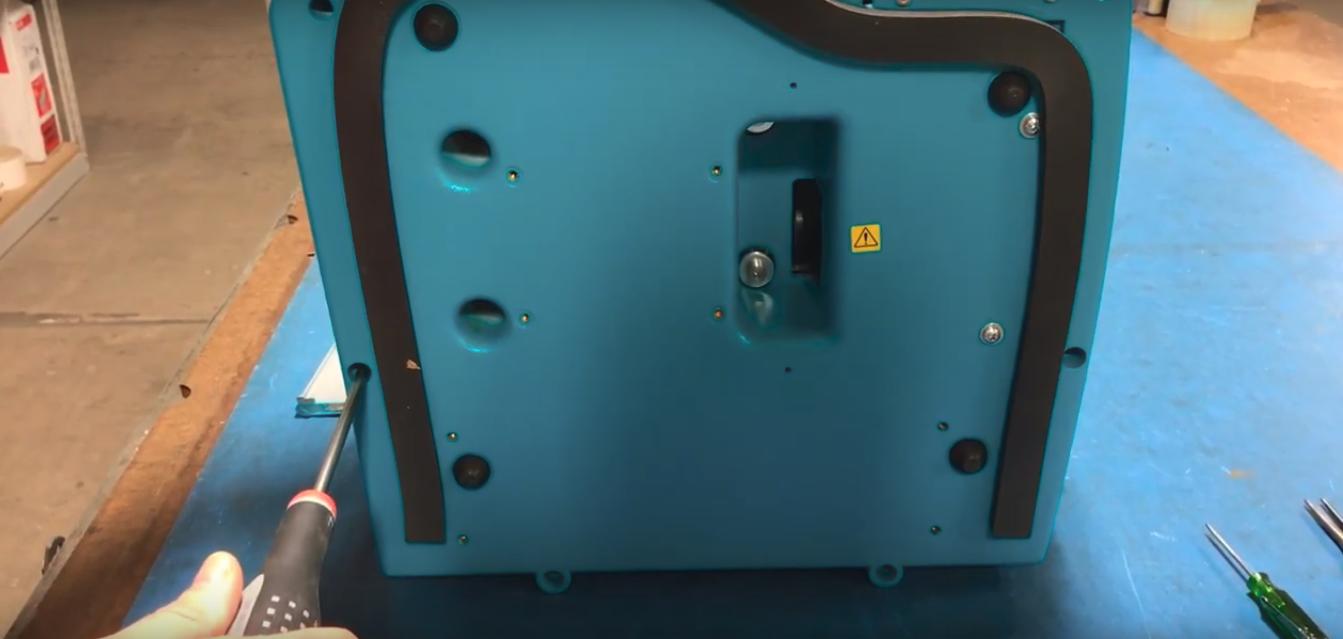
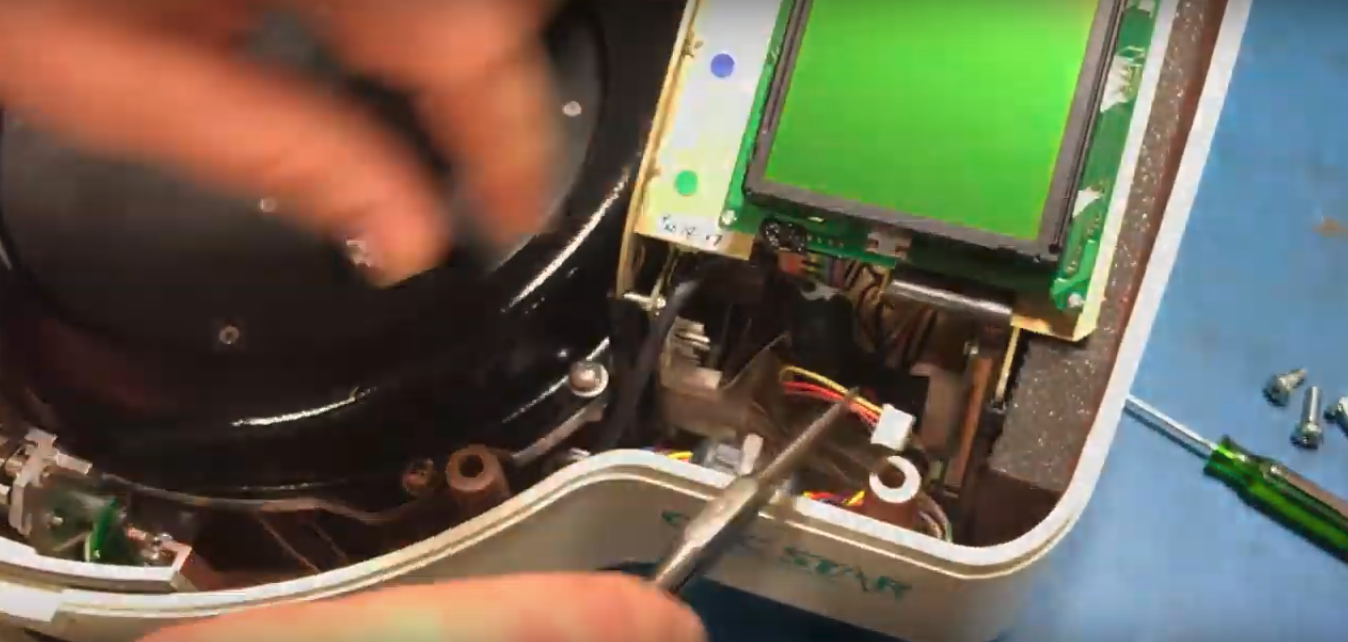
Once this final screw is removed, you will be able to take the top off of the star to access the printer.
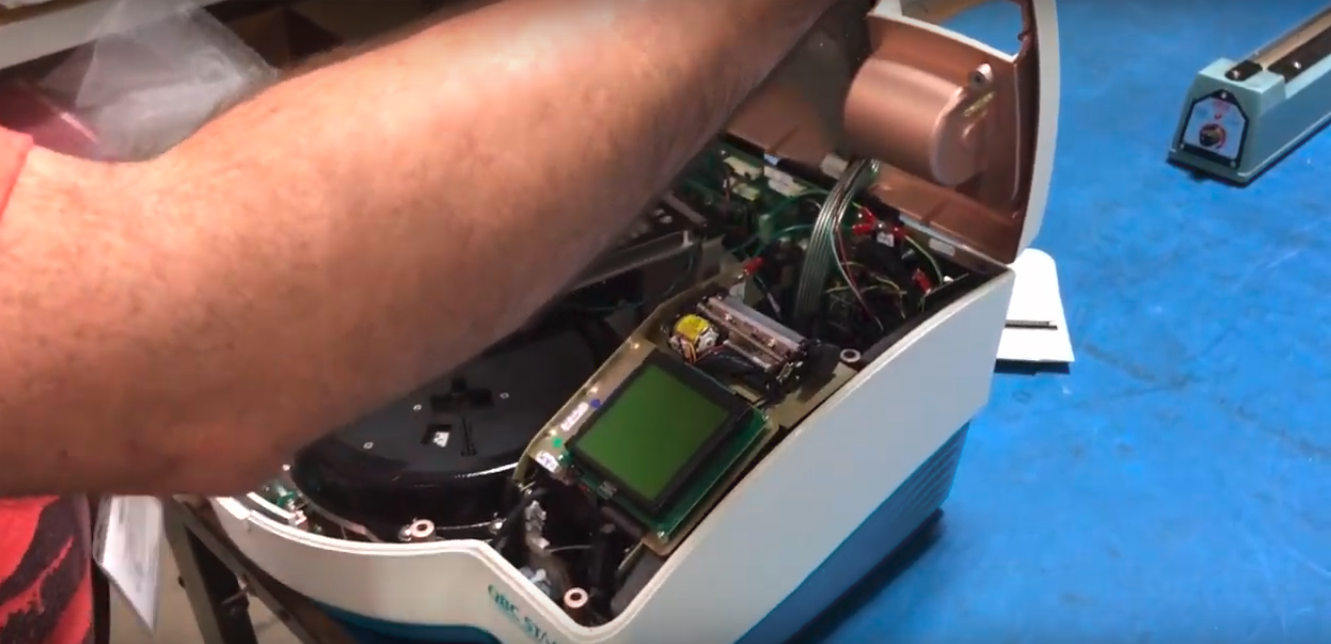
There are some ribbing cables inside of the star so be careful when taking the top of it off, you don't want to damage any of these cables in the back,so pull it straight up off, turns inside so you don't tear the cables you want to make sure you sit it where it's not gonna fall over and don't tear those cables.
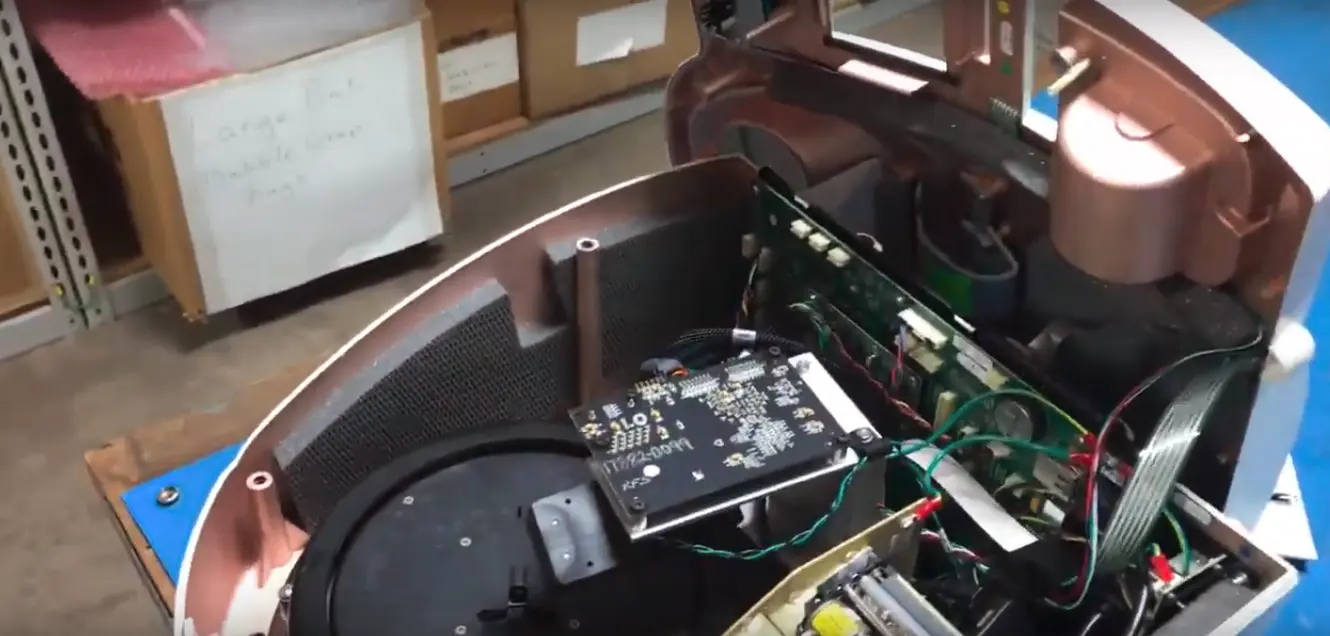
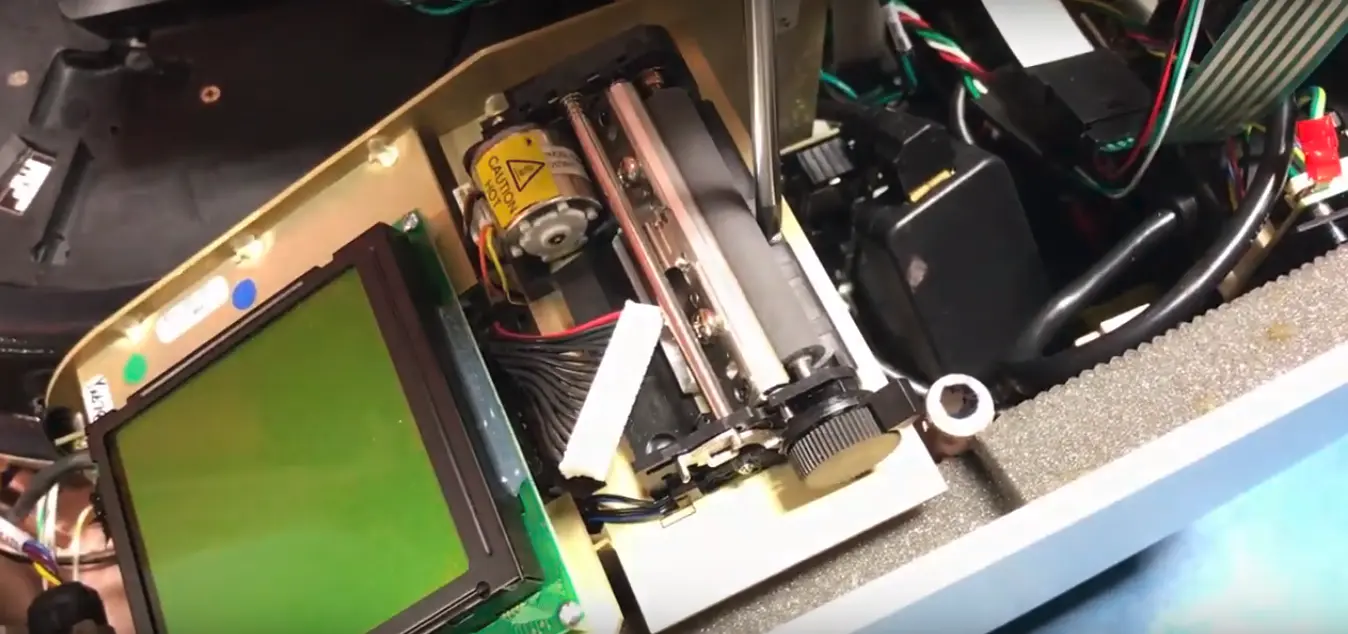
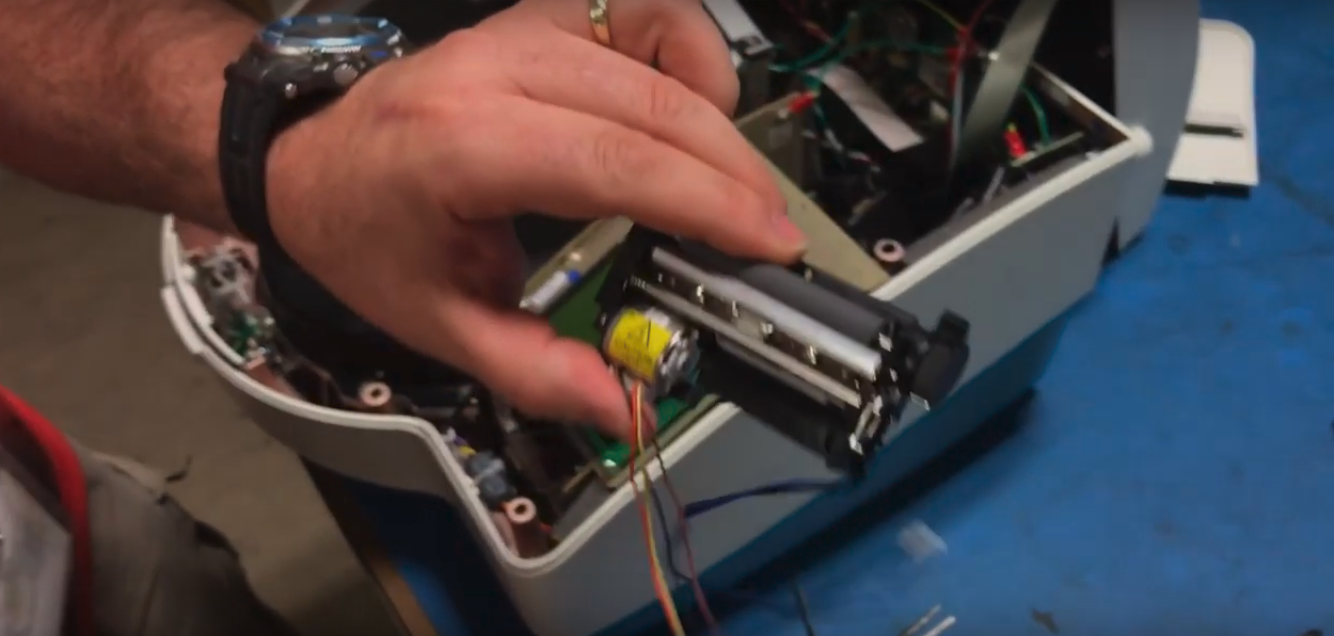
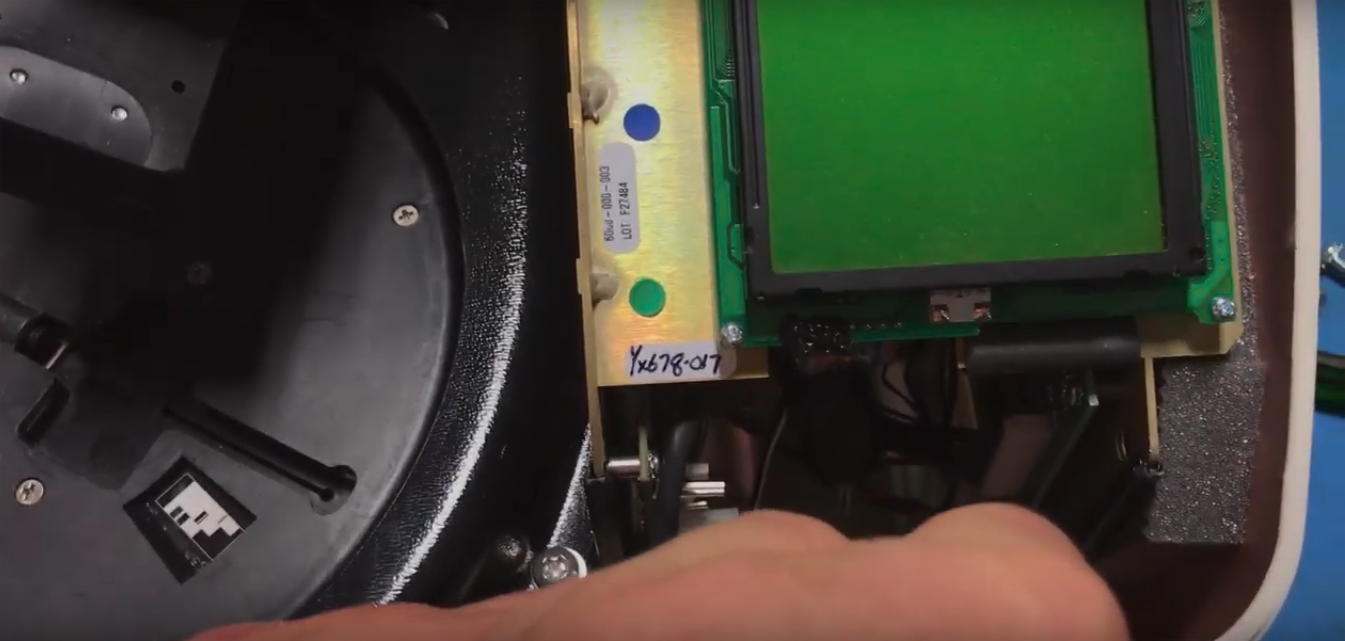
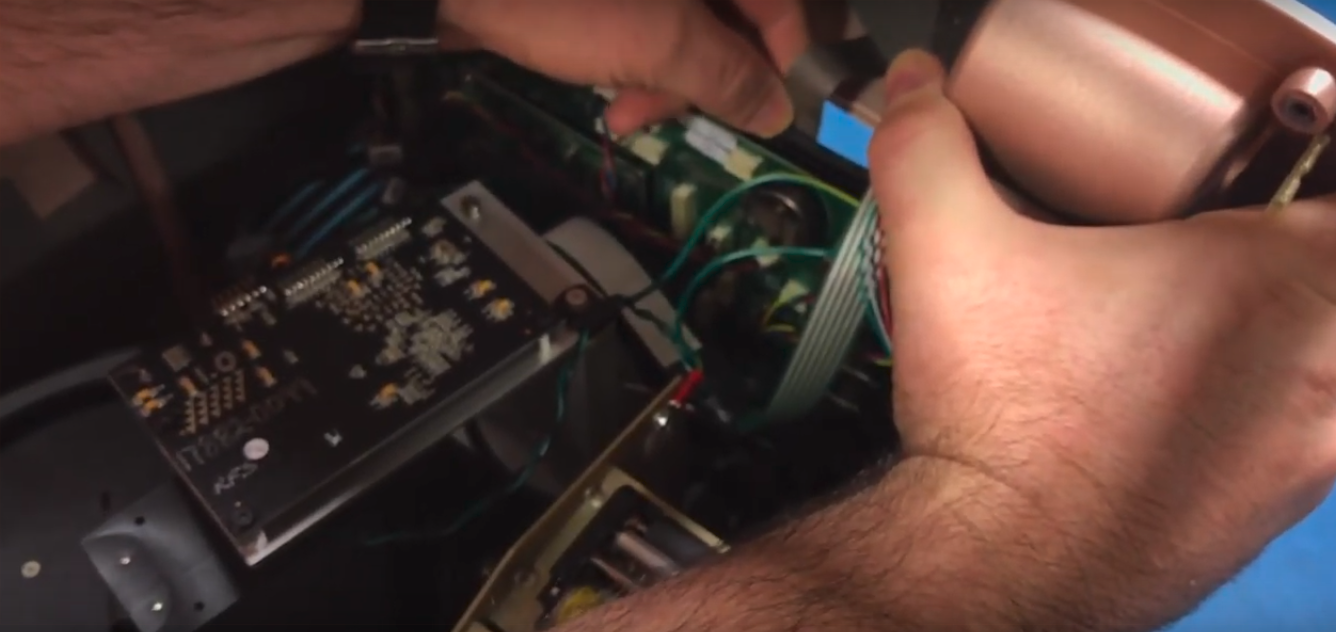
So this is the tower that houses the internal printer,
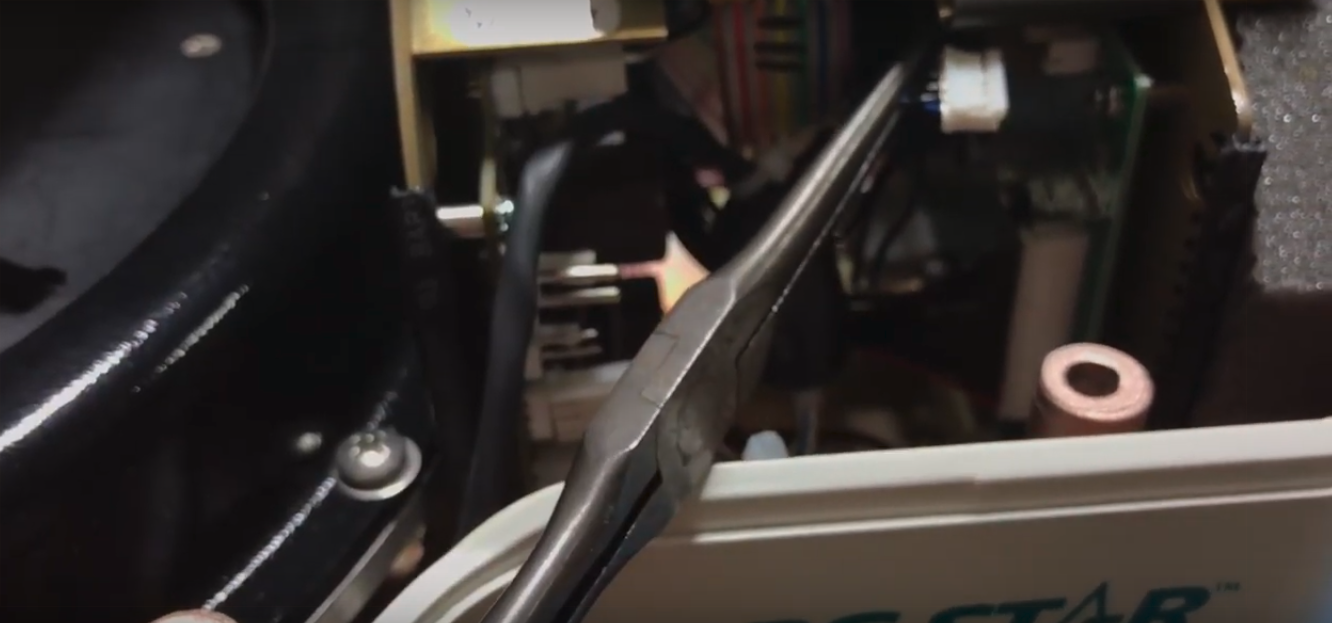
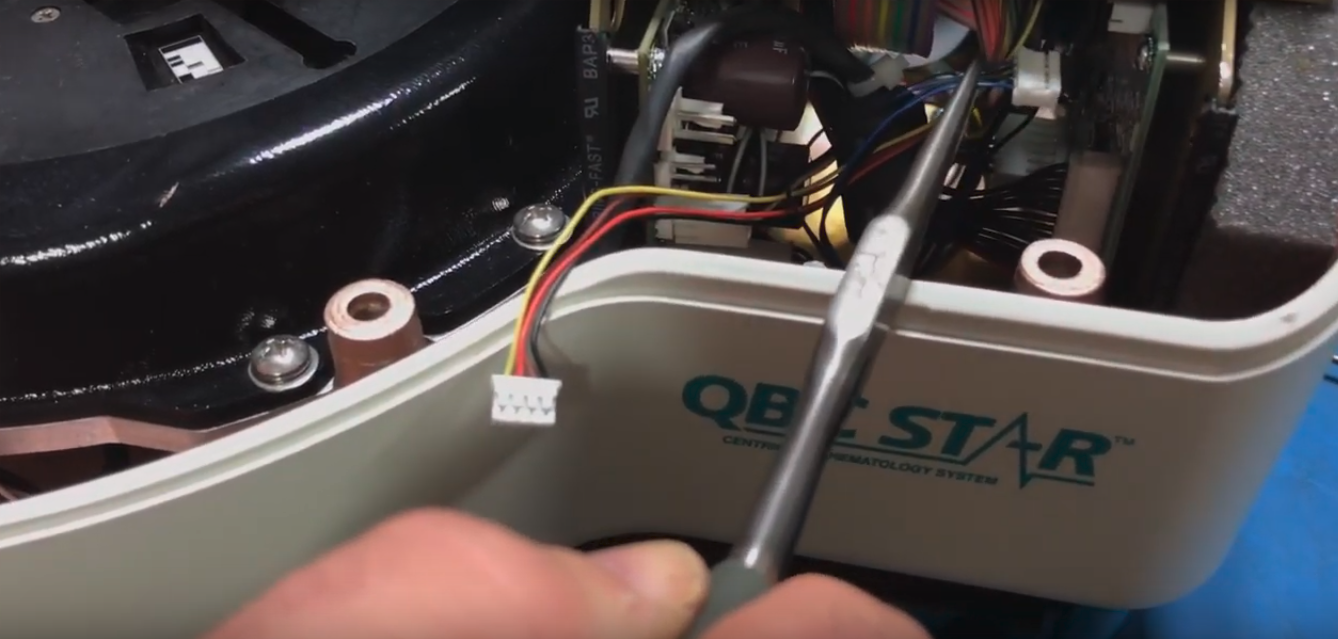
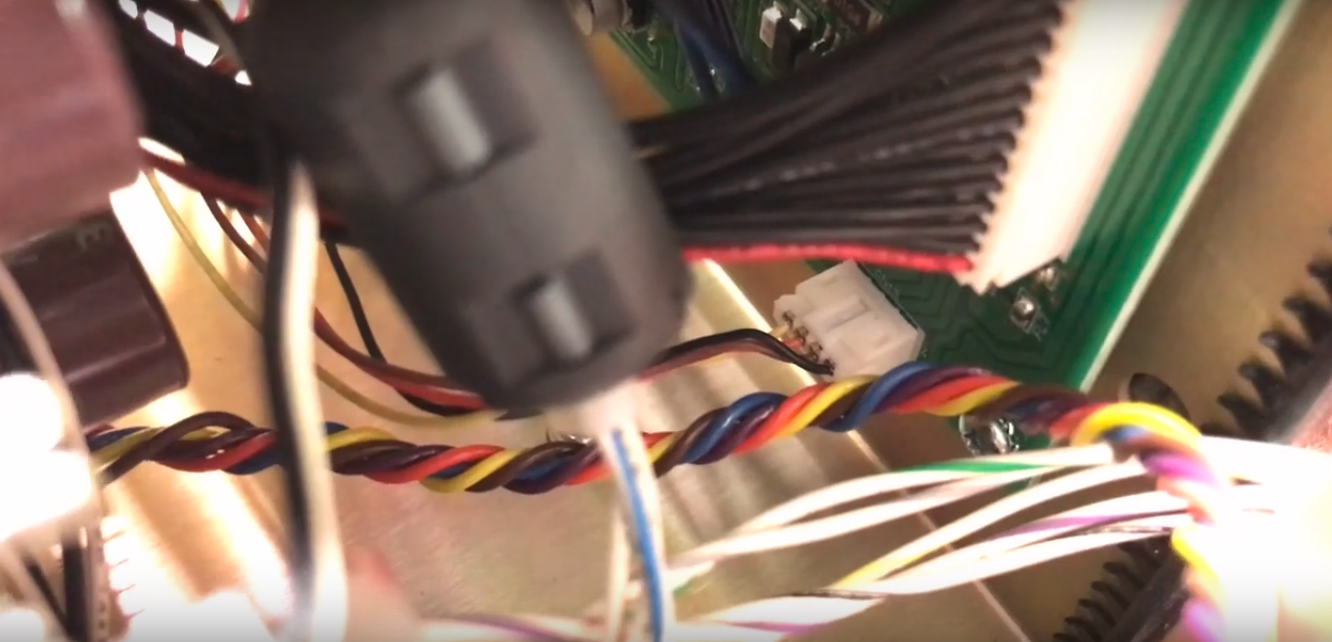
so the first thing we're going to do is disconnect it from the board, watching this colorful cable right here,
using a pair of pliers you can just pull that connection out and the one at the top.
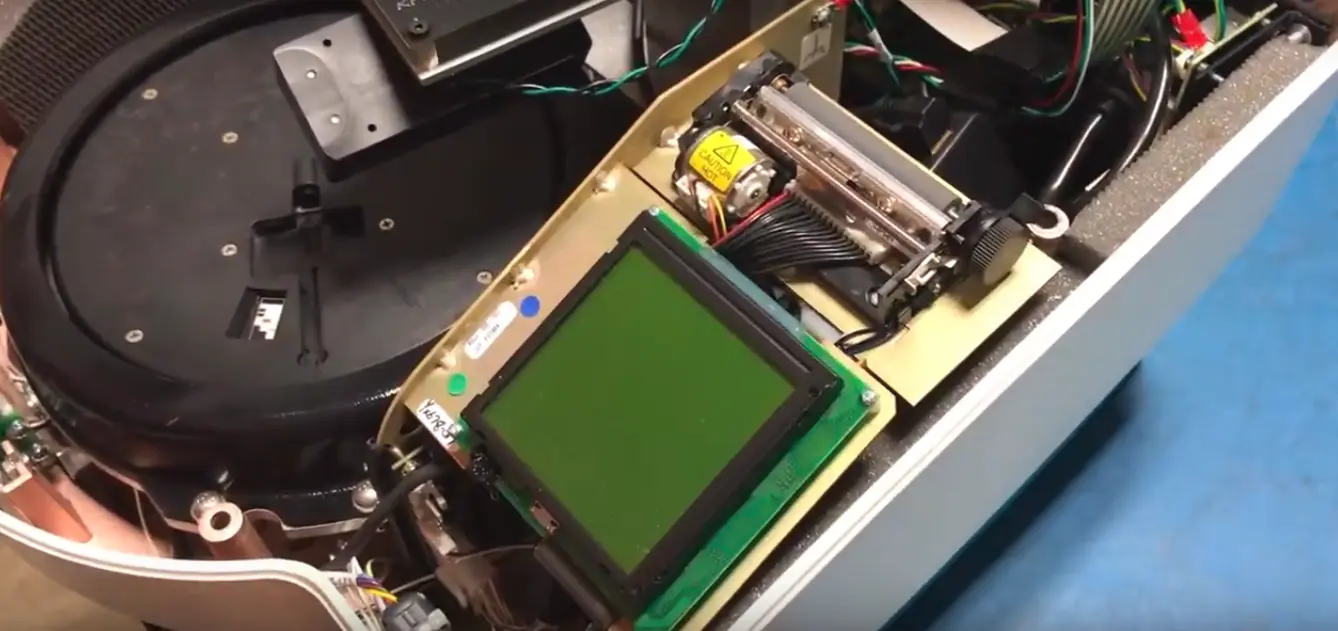
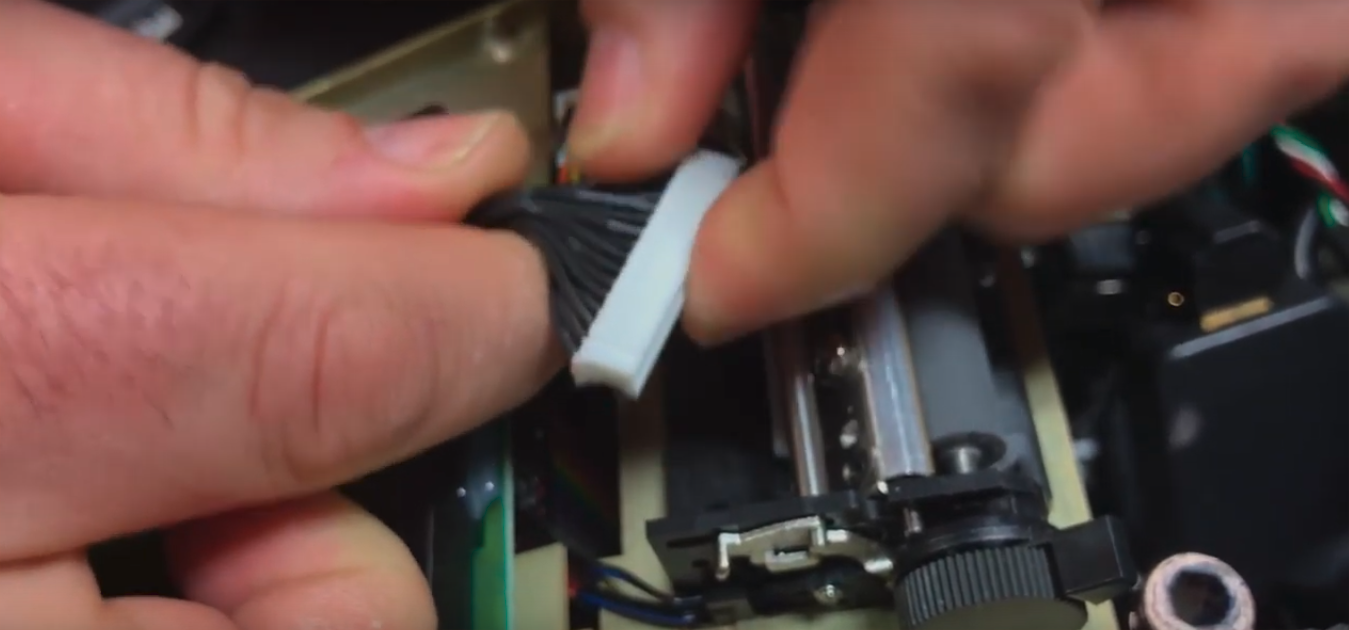
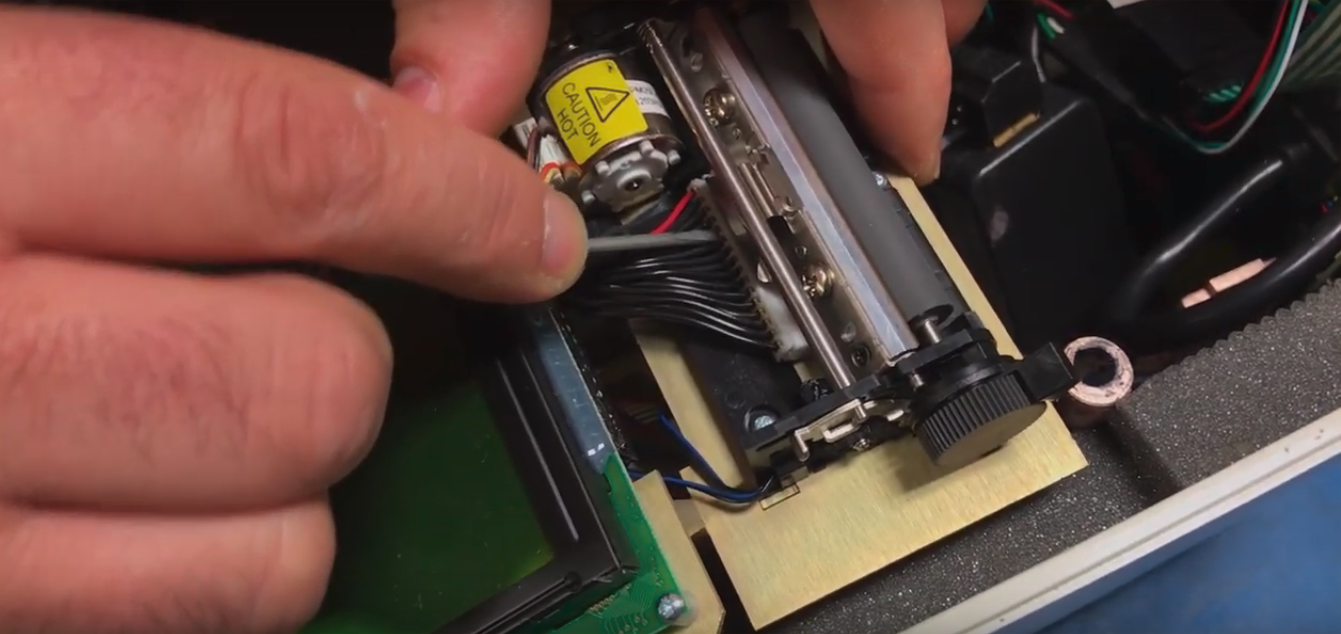
When there's one cable connected to the printer that just pulls right out
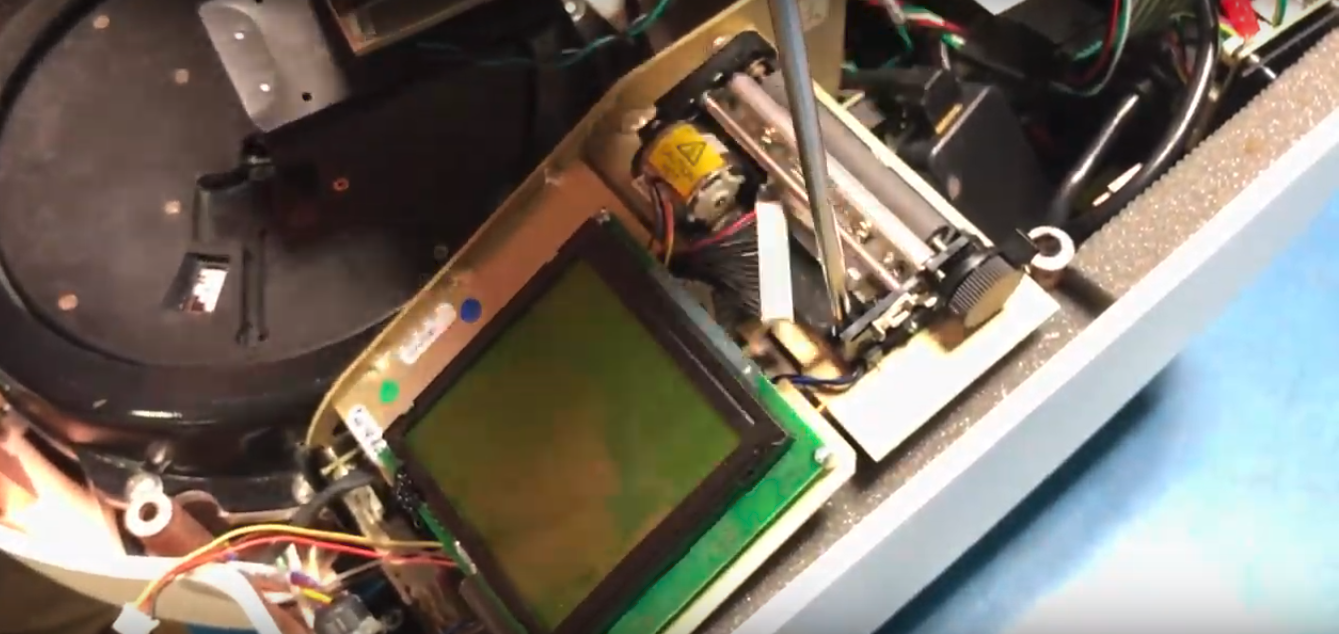
and then using the number one phillips screwdriver, unscrew the screws that hold the printer to the tower
and you can pull the malfunctioning printer out, set it aside those of it.
Then, you can put the new one on.
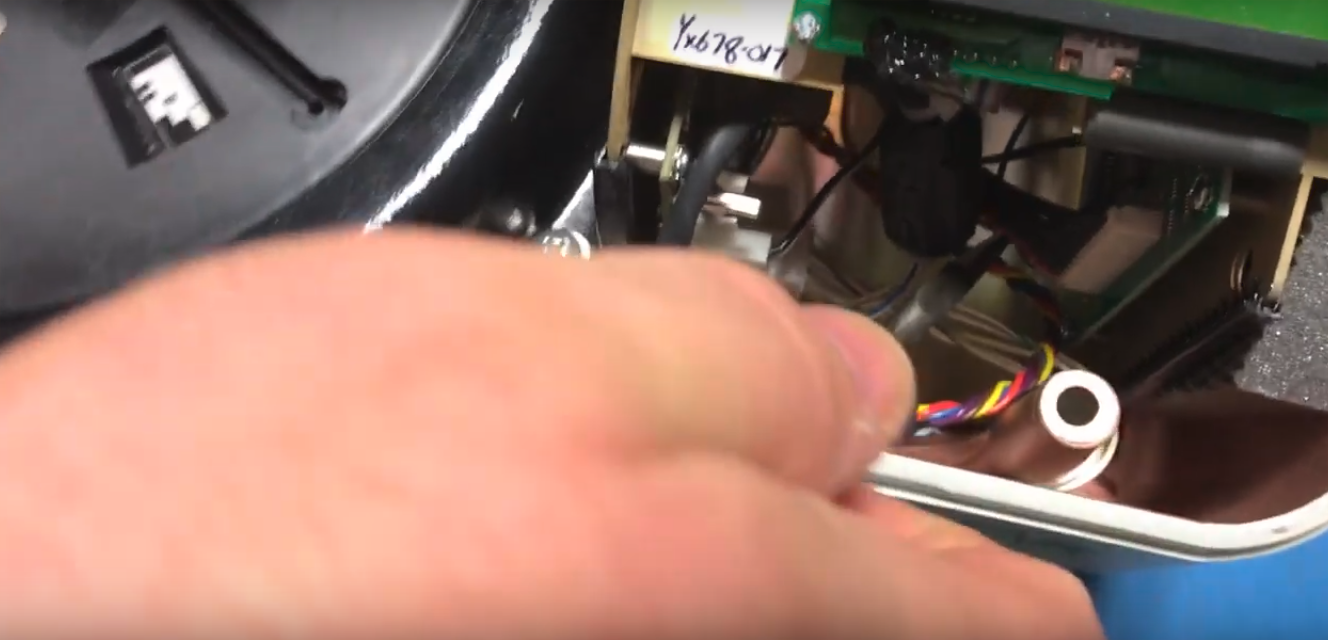
It's kind of fish the cables down through that hole where we pulled the old ones out,
fish them through down here, just like the same way that they came out.

The three screws back in, let them all loose to you all three in.
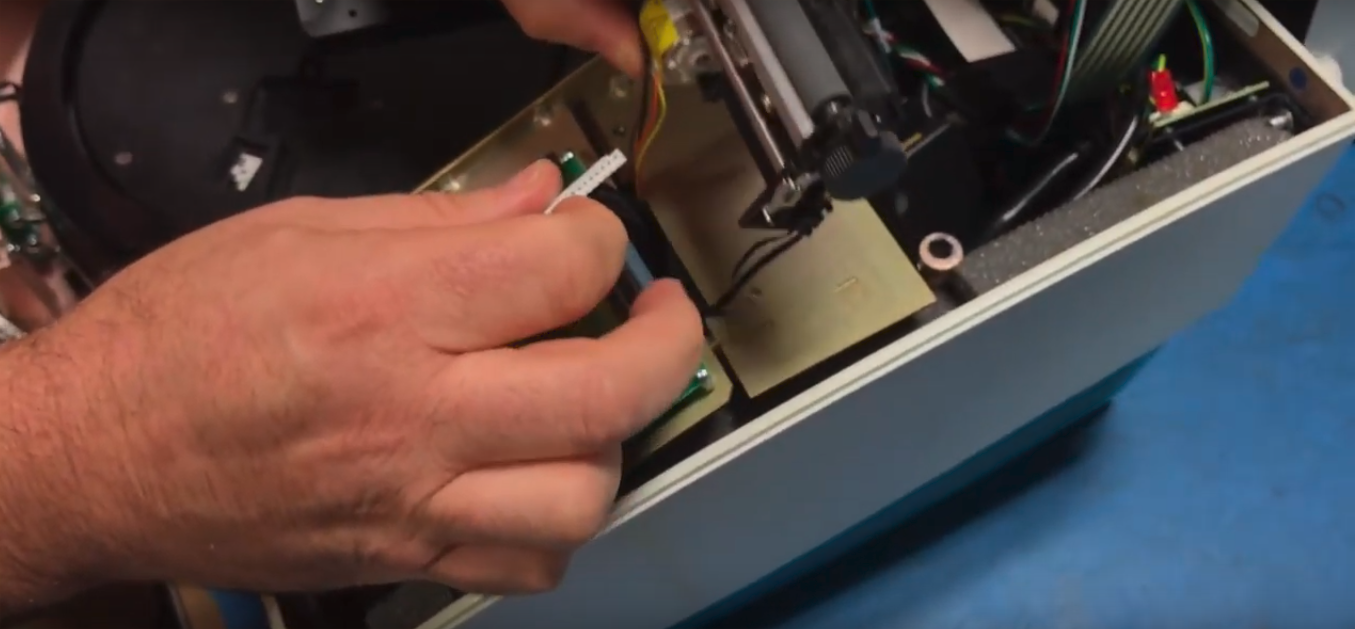
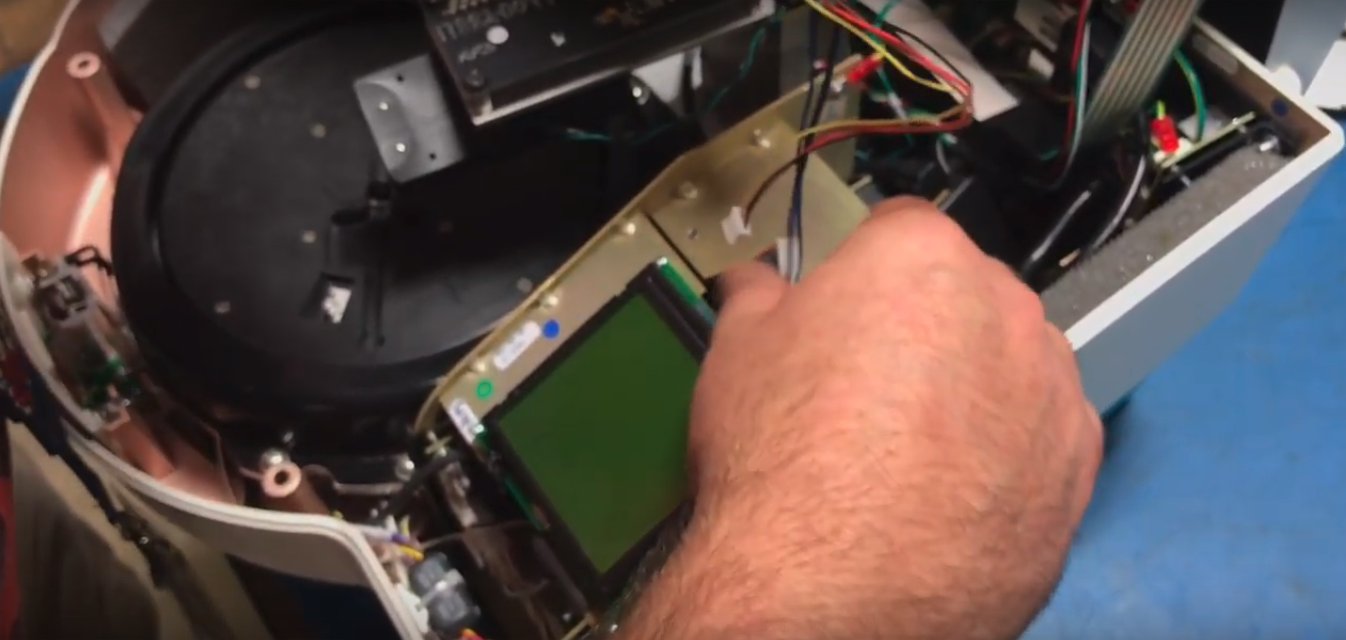
The blue and black cable plugs into the top connection on the board to make sure they're seated correctly,
there are red, black and yellow to that bottom connector.
Oriented with the tab up on the bottom can I do just gotta kind of line it up, can be a little tricky there just there and then the finish pushing it on.
So, I got the blue-black on the top of this cord

and bottom we have the yellow, red and black make sure they're fully seated
you want to connect this cable back to the printer also making sure that it is seated in there correctly walk it in by pushing with the little screwdriver.
So at this point, it is installed the only remaining thing to do is to put the top back on, again make sure you're careful with those ribbon cables in the back, push it down strap down in behind black back panel
and slowly fold her down. Make sure you don't pinch any of the connections as you're closing it.
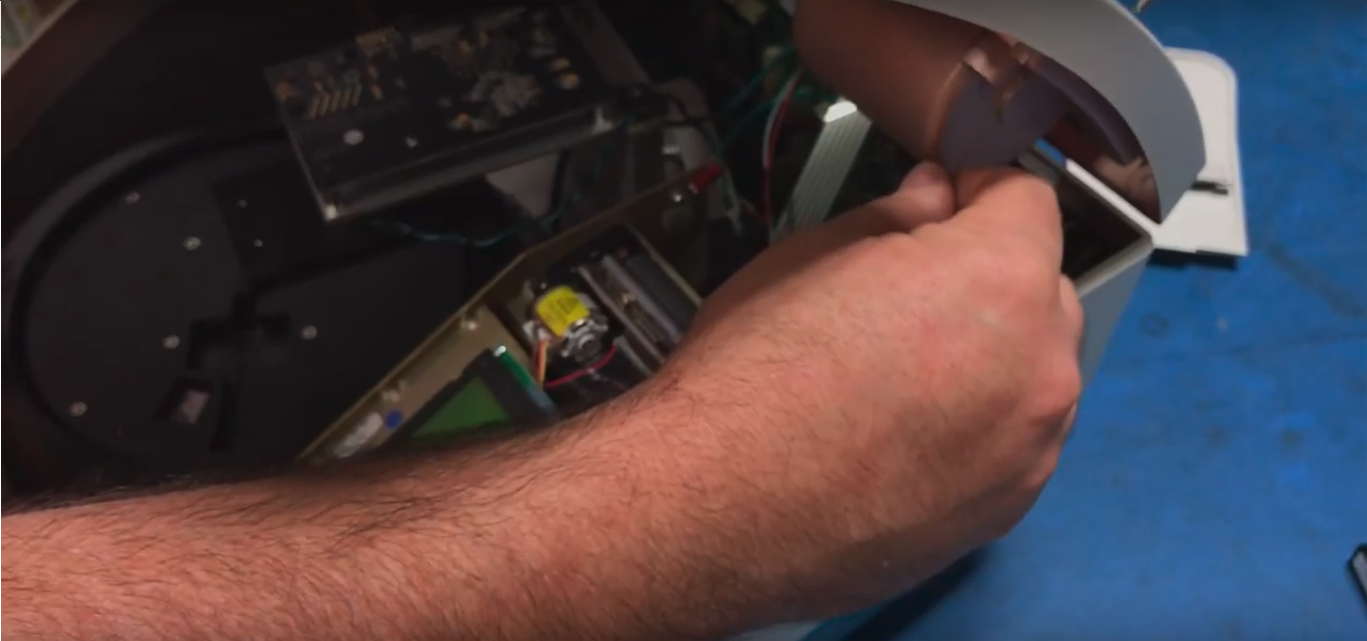
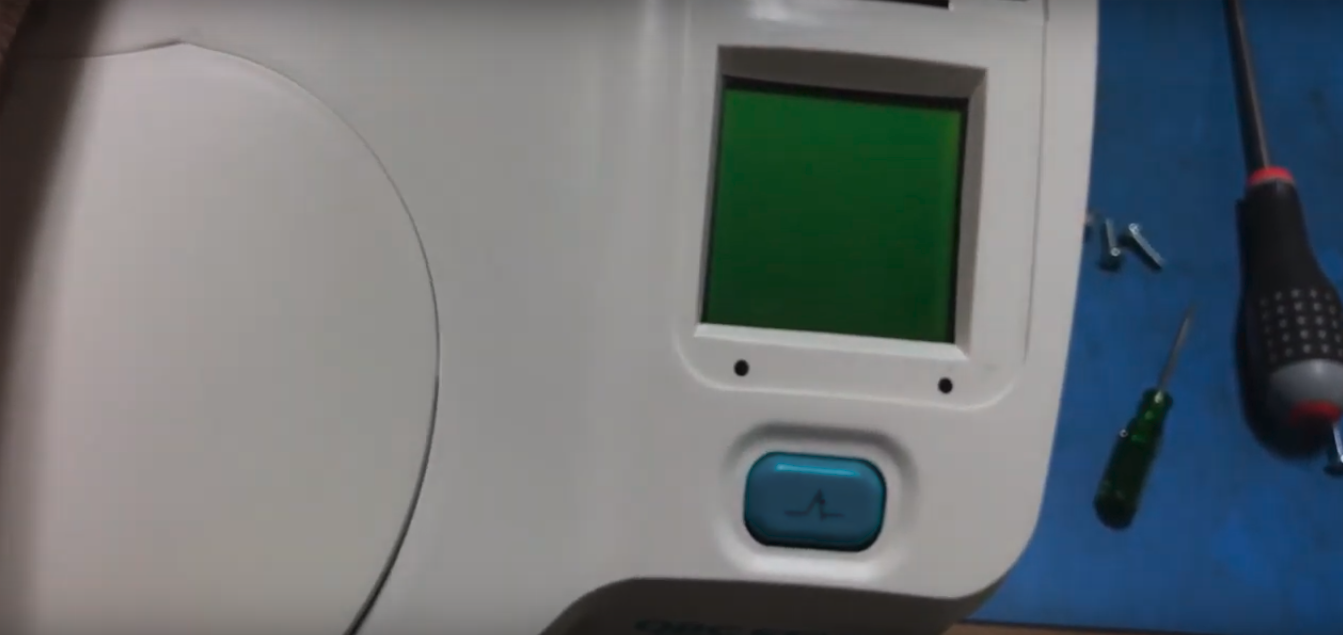
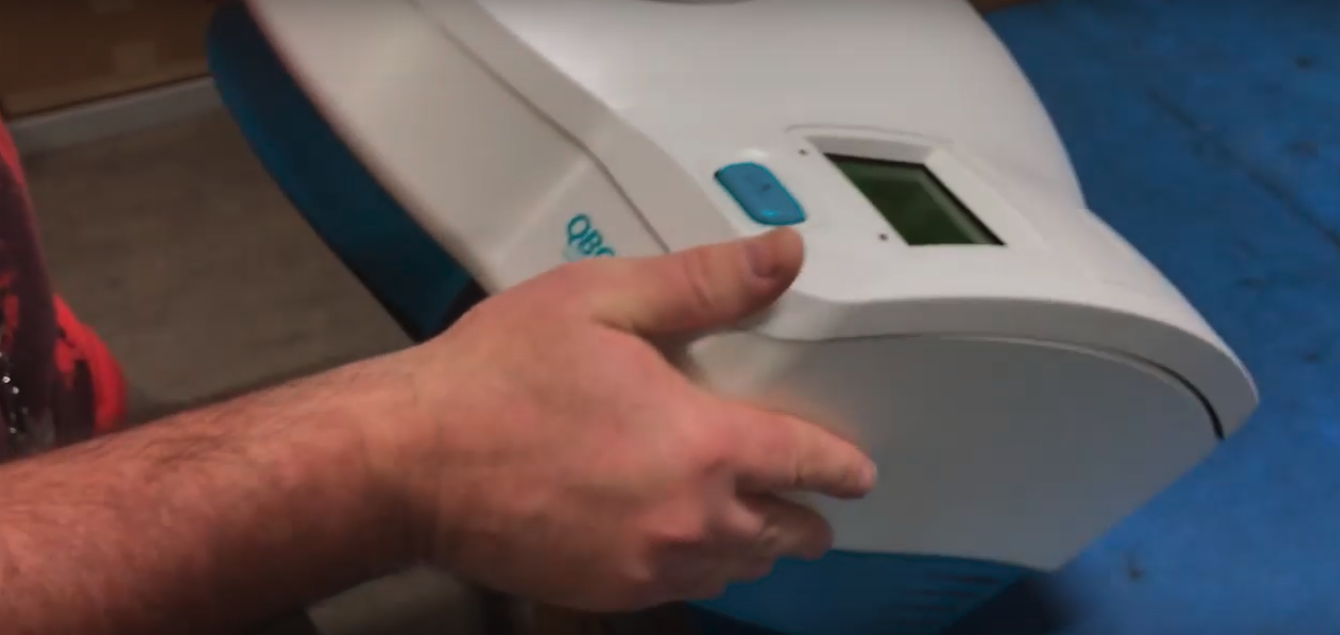
You hear it click on there when you’d see it, make sure there's no wire sticking out batteries, you have no wires hanging out back or on the sides, kind of fits nicely onto this screen, that's a little off-center you can move that gently by hand just to center it up in the window.
Our printer door is disattached to yours might be there it would just fall back into place.
Okay and you want to you don't want to tilt it back to put the screws back in it because the top will fall off again so, the two longer phillips screws go into that position that you see right there one goes in there
and one goes over the left side
and the remaining shorter philips screw goes where the door was.

Make sure the screws are tight and once you confirm that they're tight you can tilt on this back
and keep in mind that there are two screws here, make sure the left side is longer than the other one
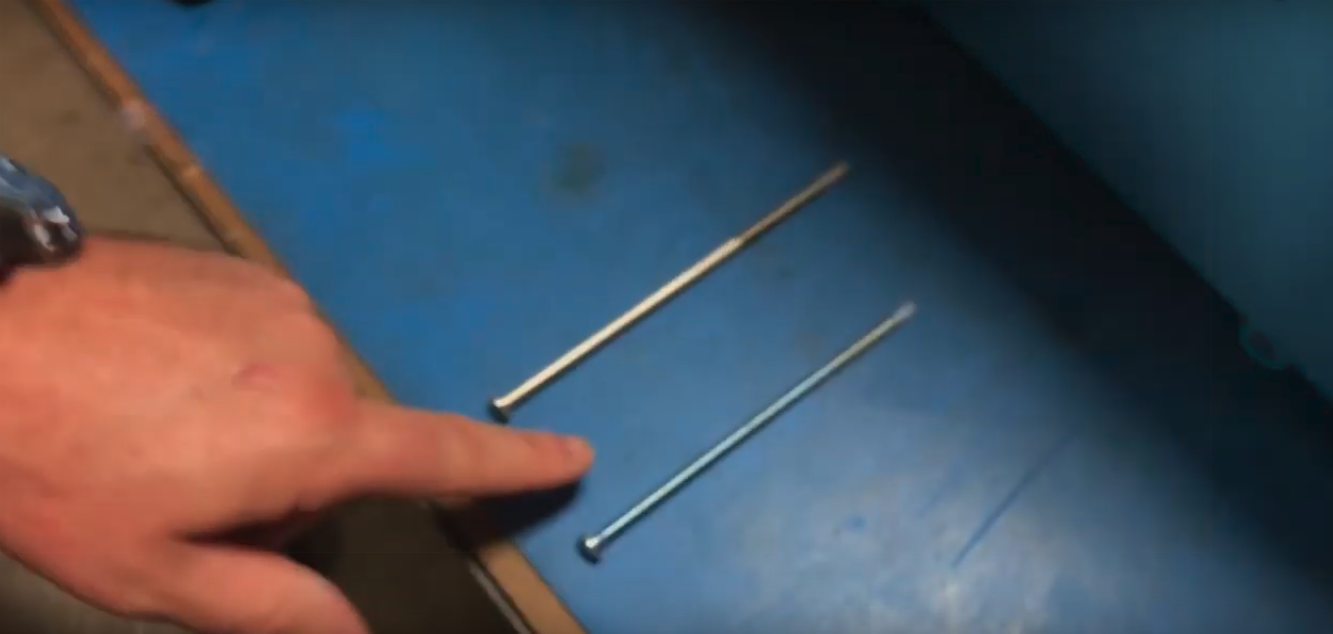
so the longer one goes on the left side of the Star.
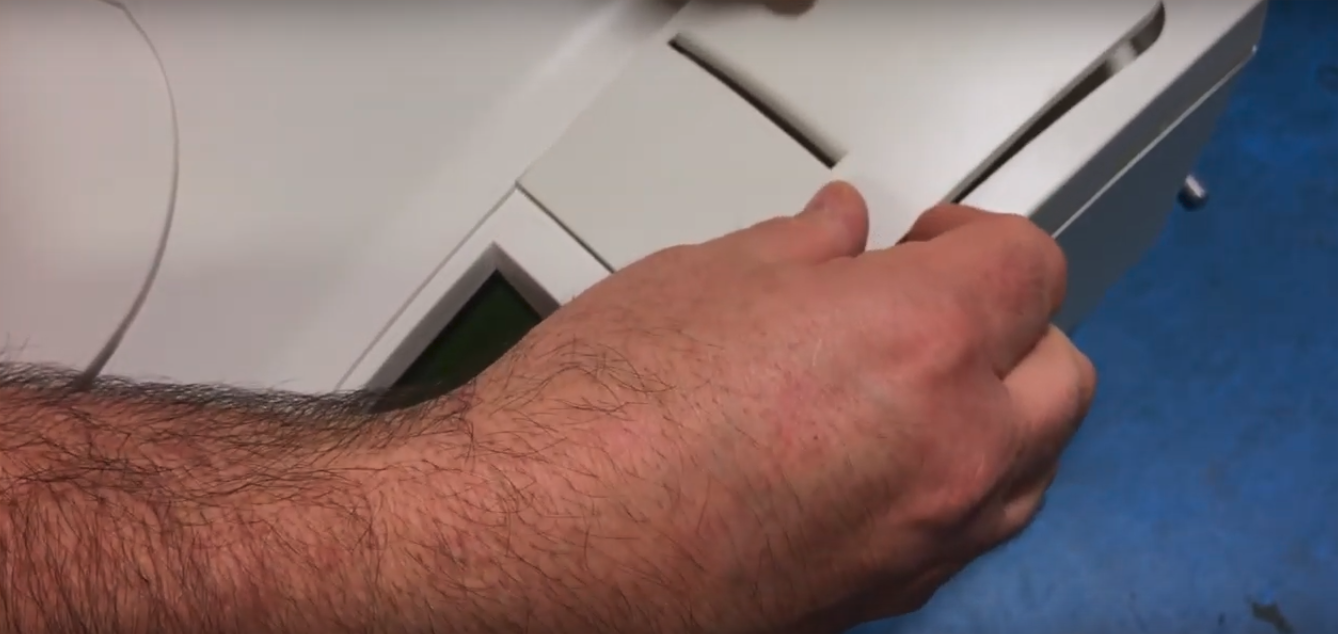
And at that point you can sit it down on its correct position and the door has to go back on it so it's got a tab on each side that just kind of snaps into that fits right in there right side on the left side and it just kind of sits up there.
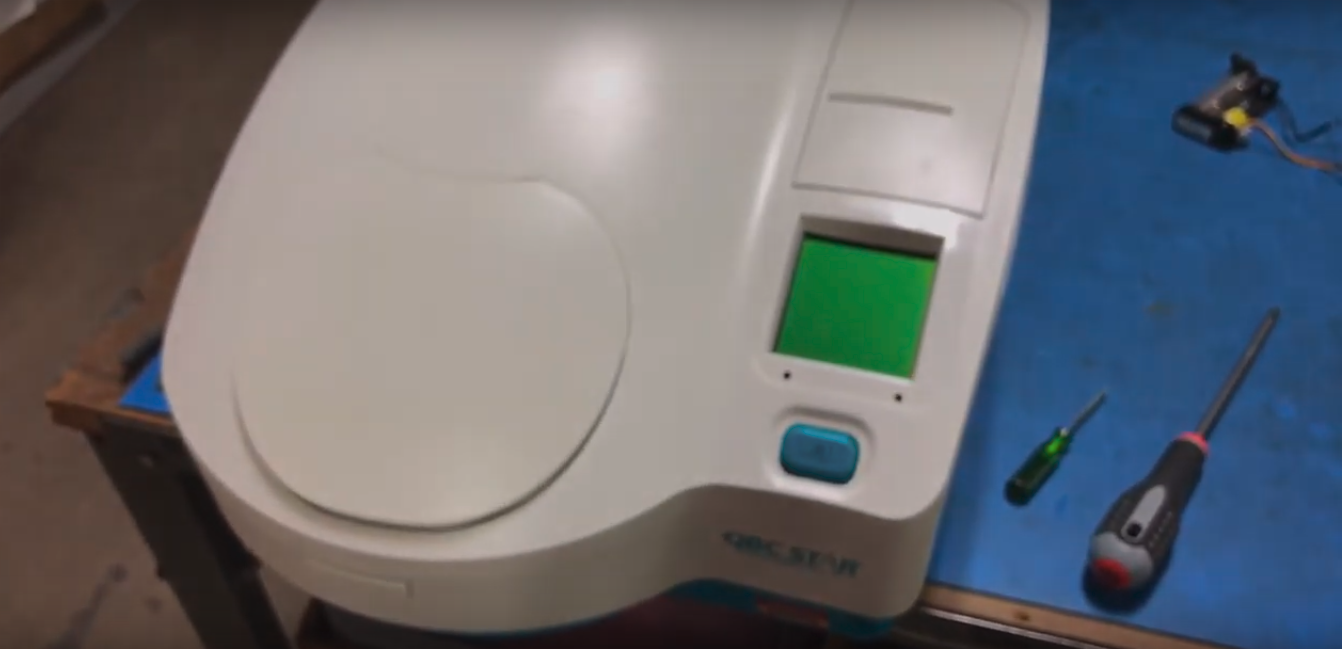
And that is the internal printer installation on the QBC Star.
Watch the full video version below:
-
Shop for the QBC Star Hematology Analyzer and its accessories below
or visit Block Scientific Store today:
- Drucker Diagnostics QBC STAR Dry Hematology Analyzer
- Drucker Diagnostics QBC STAR Tubes (100 test kit)
- Drucker Diagnostics QBC STAR Printer Paper